Three updates to the Project Workflow this month turn your designs into true manufacturing documents—not just basic connectivity diagrams—across both Layout and Schematic views.
Images on Canvas
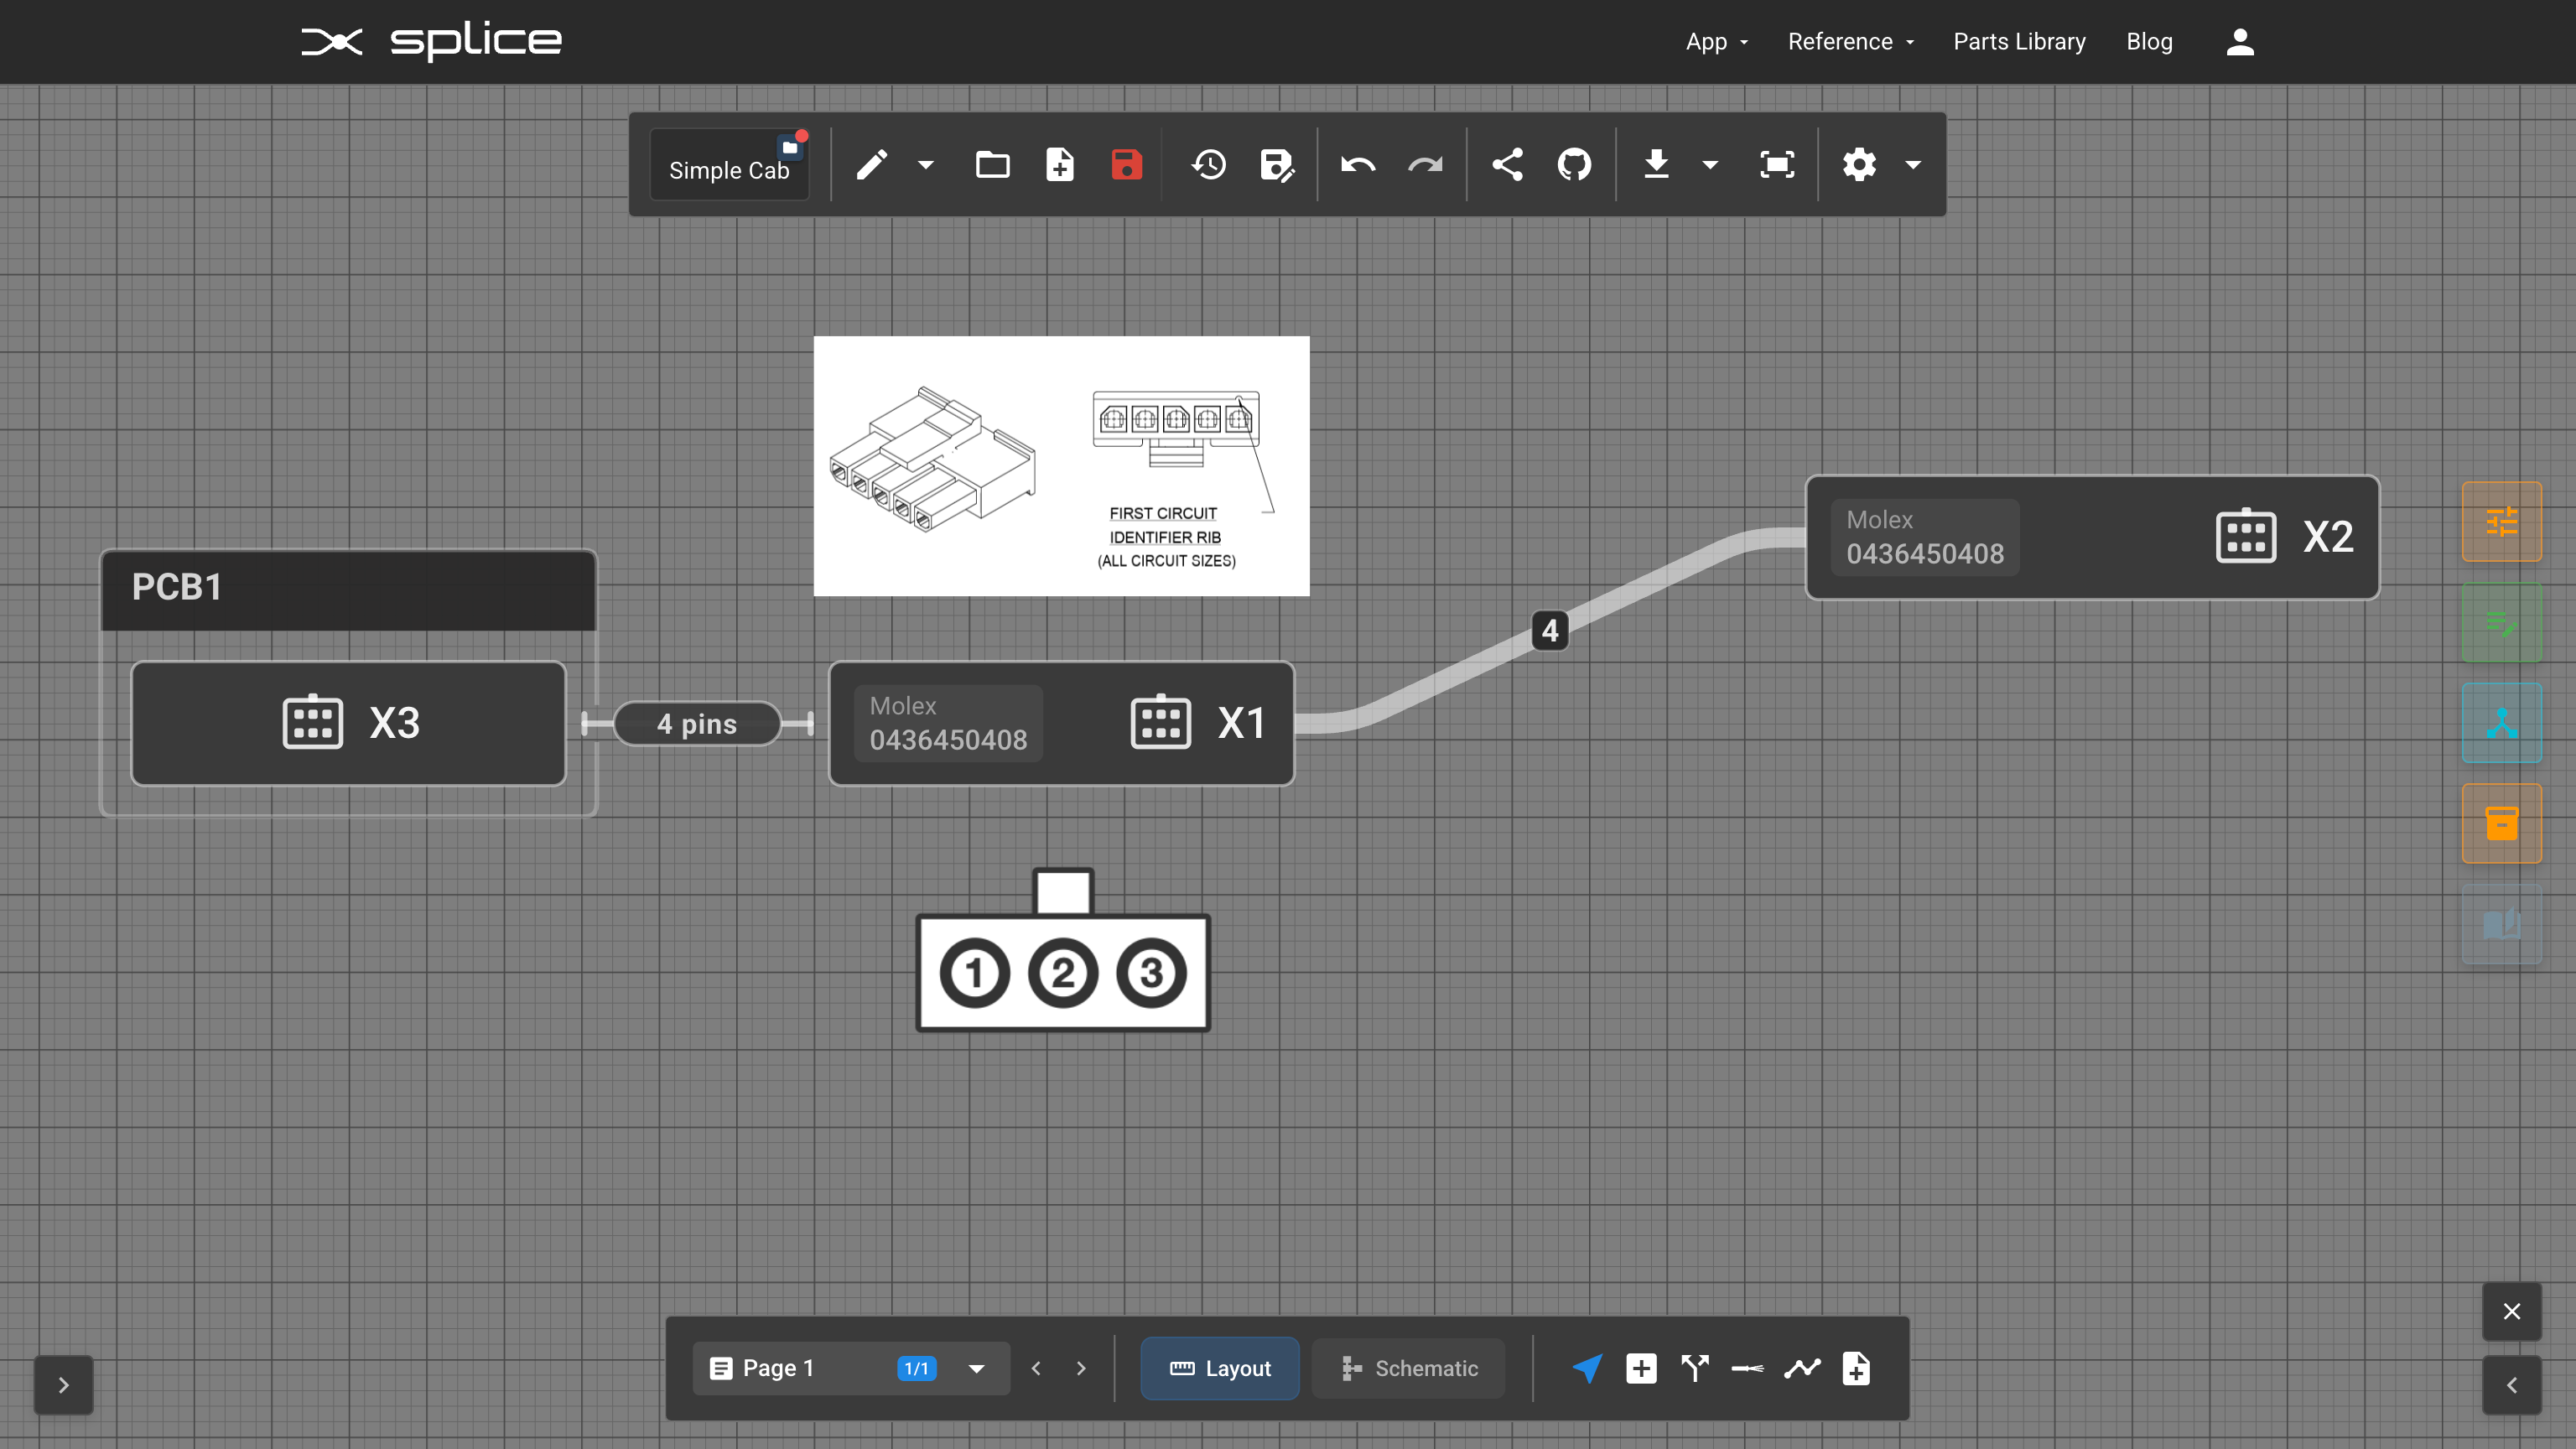
Add logos, supplier photos, reference drawings, or connector symbols anywhere in your project. Insert images from the notes tool in the bottom toolbar, paste directly from your clipboard, pull in a connector's native photo, or choose from built-in templates (including D-sub, M-series, terminal blocks, and more). Images support full canvas controls—box-select, move, resize, rotate, and crop—and embed directly into the project file for seamless offline access.
Connector Accessories
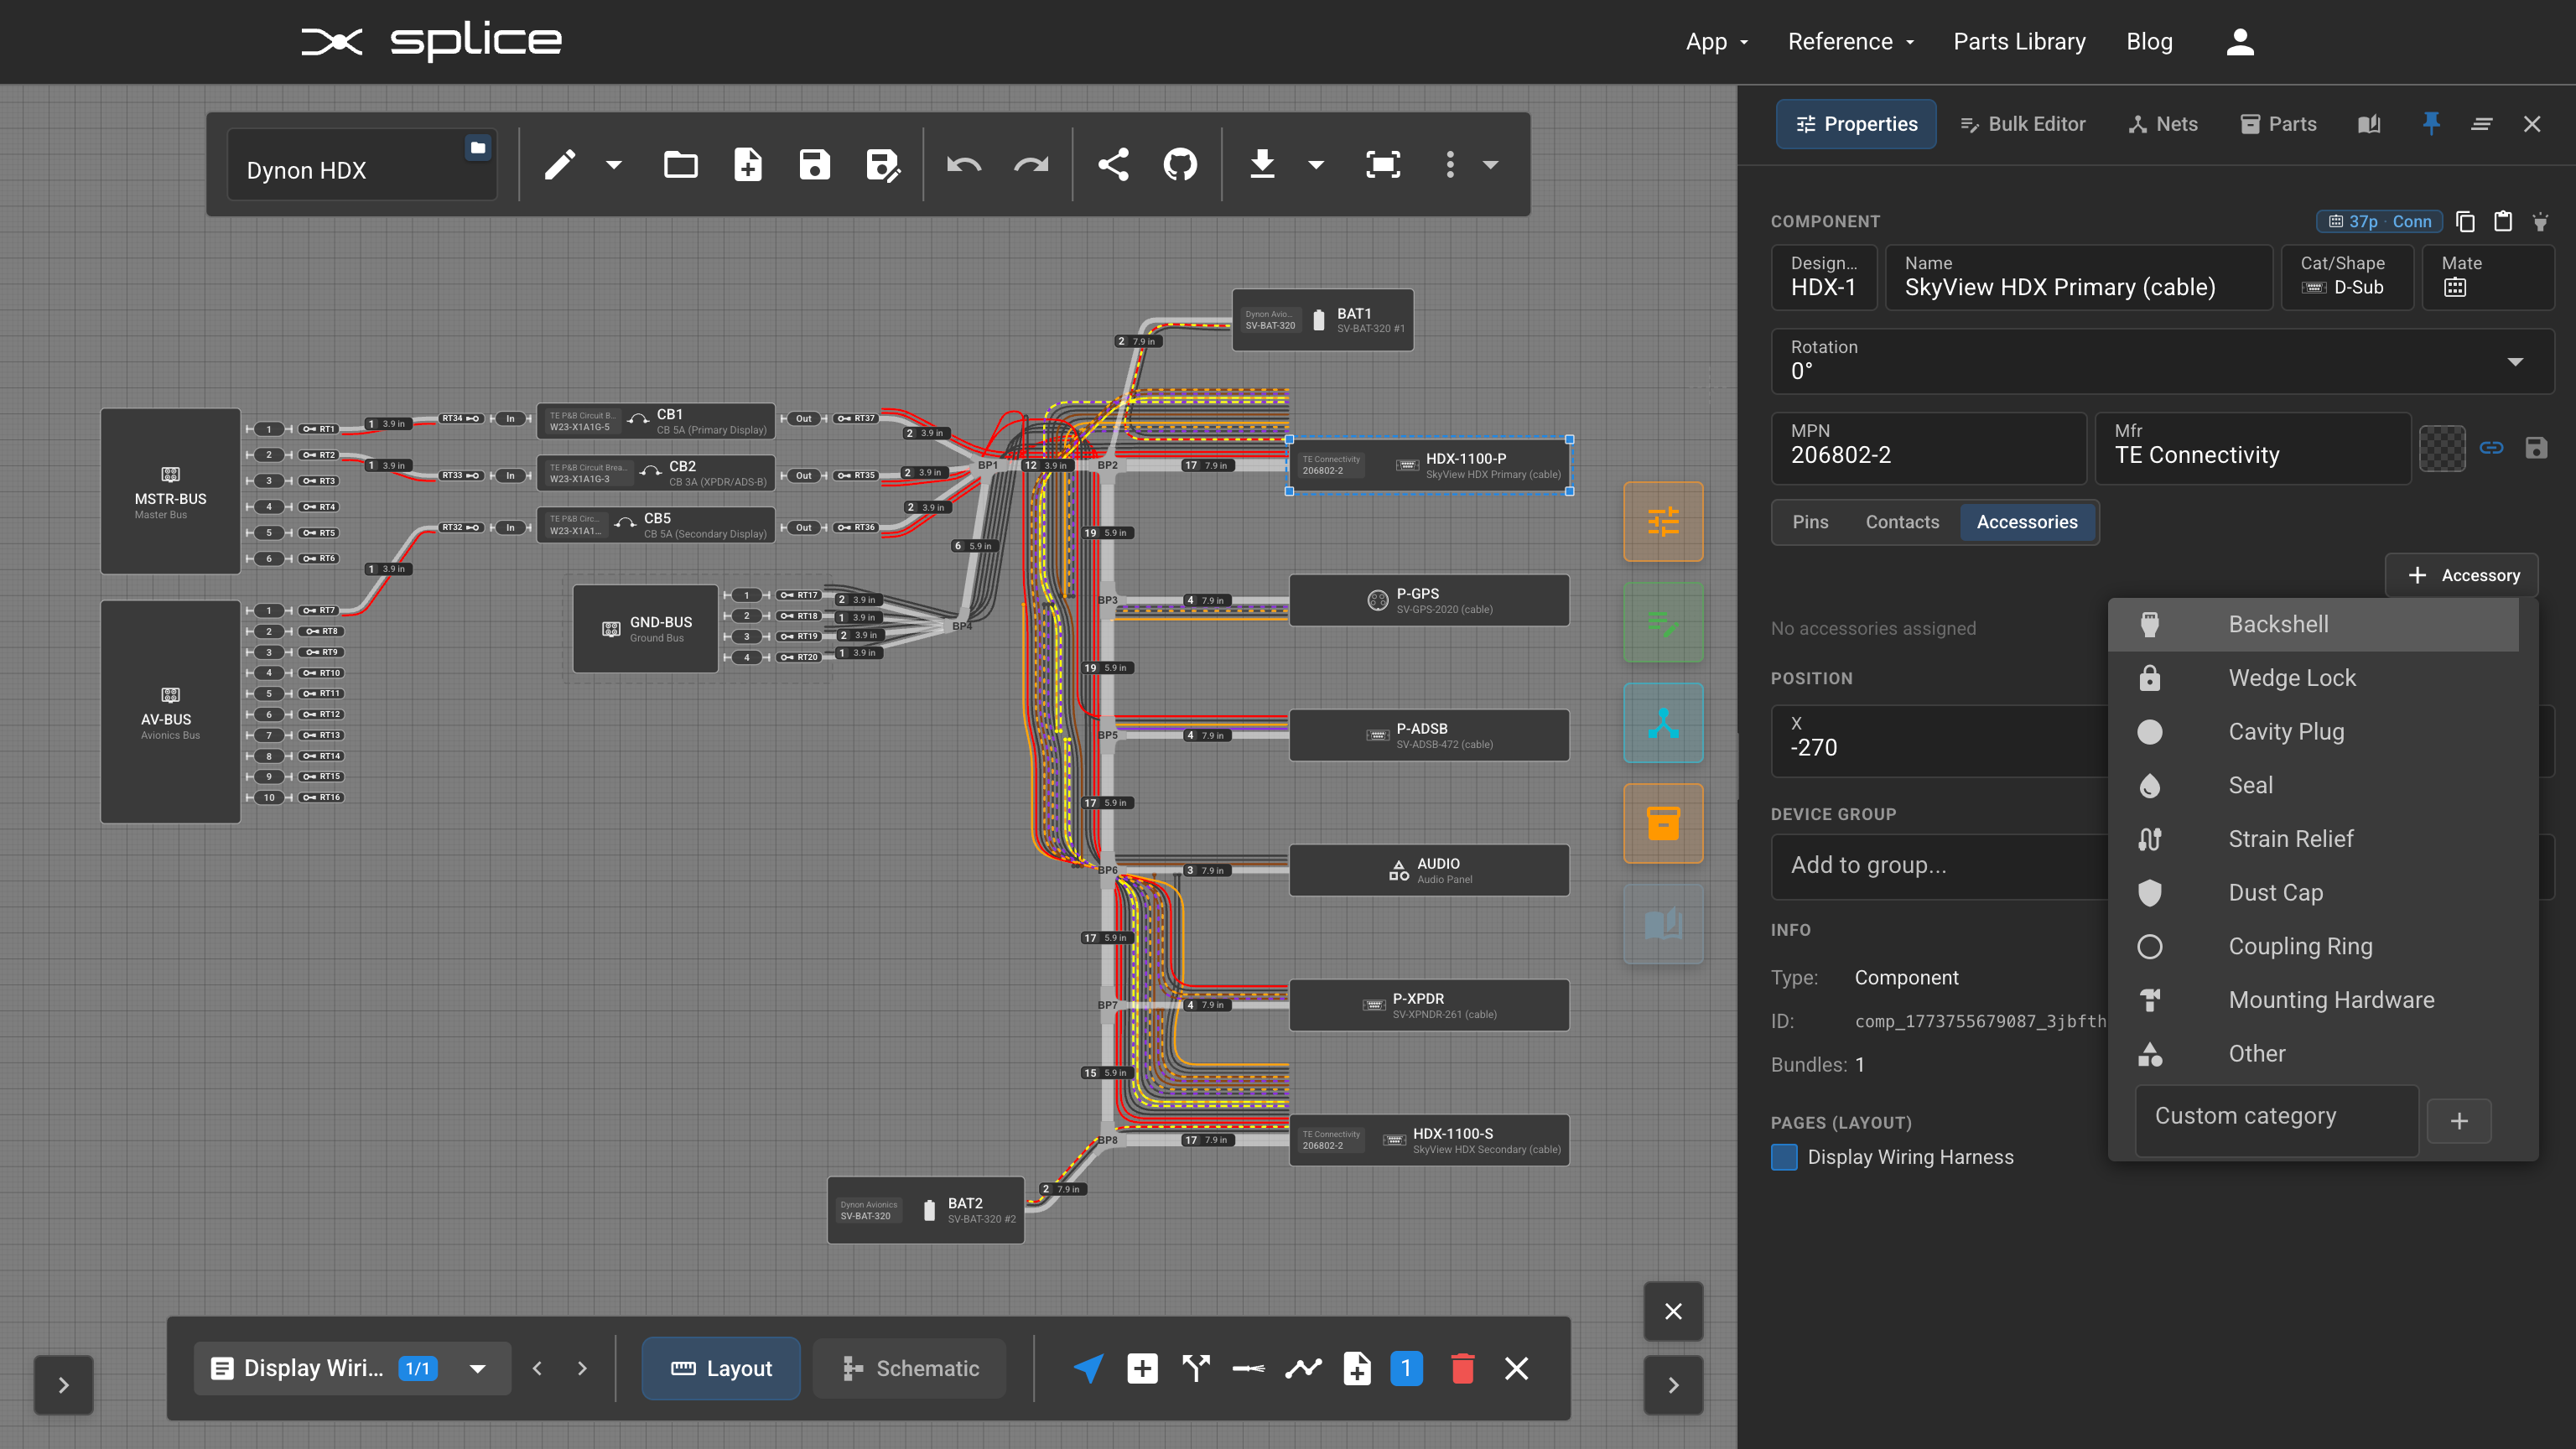
A new Accessories tab on each connector lets you add backshells, wedge locks, cavity plugs, and seals. These roll automatically into your BOM and export files under the parent connector's designator (e.g., J1-BS). Cavity plugs can auto-track empty cavities, and you can save accessory sets with a BOM preset or apply them across multiple connectors in seconds.
Connector Rotation
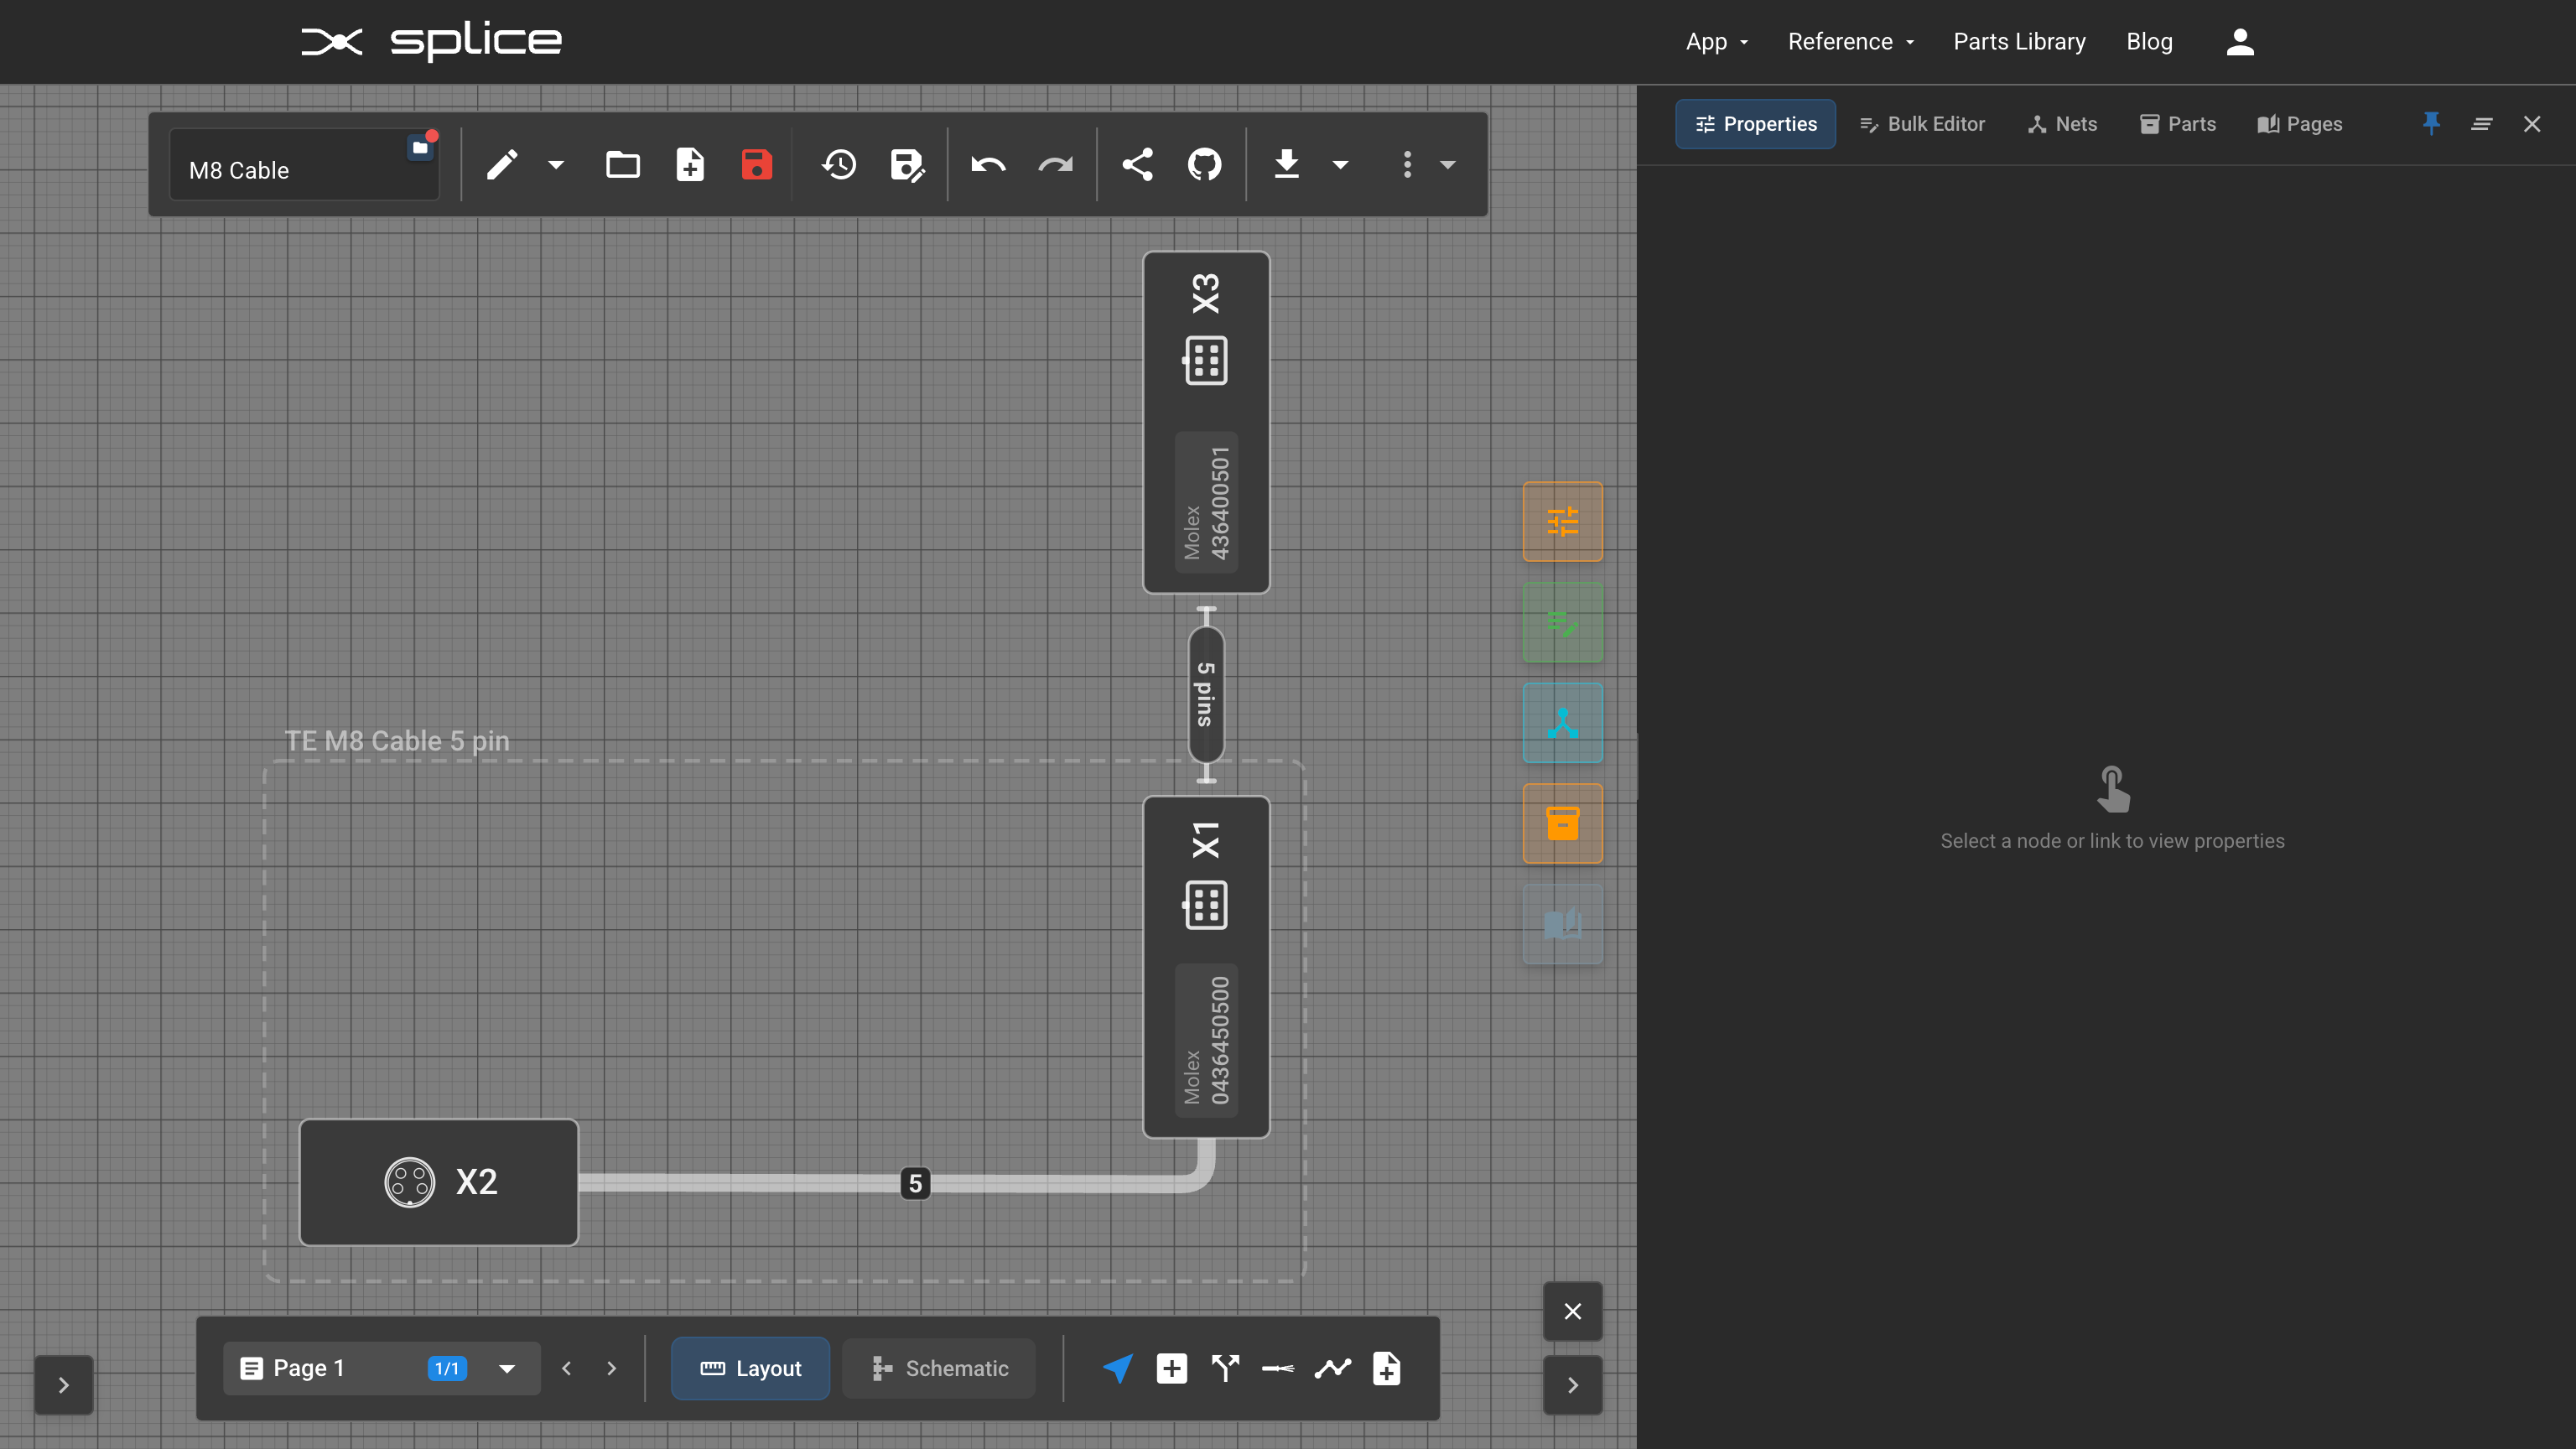
Position connectors at 0°, 90°, 180°, or 270° in Layout view, or tilt them 90° for vertical wire entry in Schematic view. Wires route smoothly from rotated faces with zero gaps, mate lines bend dynamically to stay connected, and rotating a terminal block automatically rotates all attached terminations.